
Mei Lin Lee-Stahr | Last Updated: Spring 2024
Learn the basics of Adobe After Effects!

Adobe After Effects is a video editing software optimized for high-level VFX, animation, and motion graphics. You can do many things with it, as the workflow allows for a lot of control and customization. It requires a subscription to use it, however, with your UCSC email, you get complimentary Adobe Creative Cloud Suite.
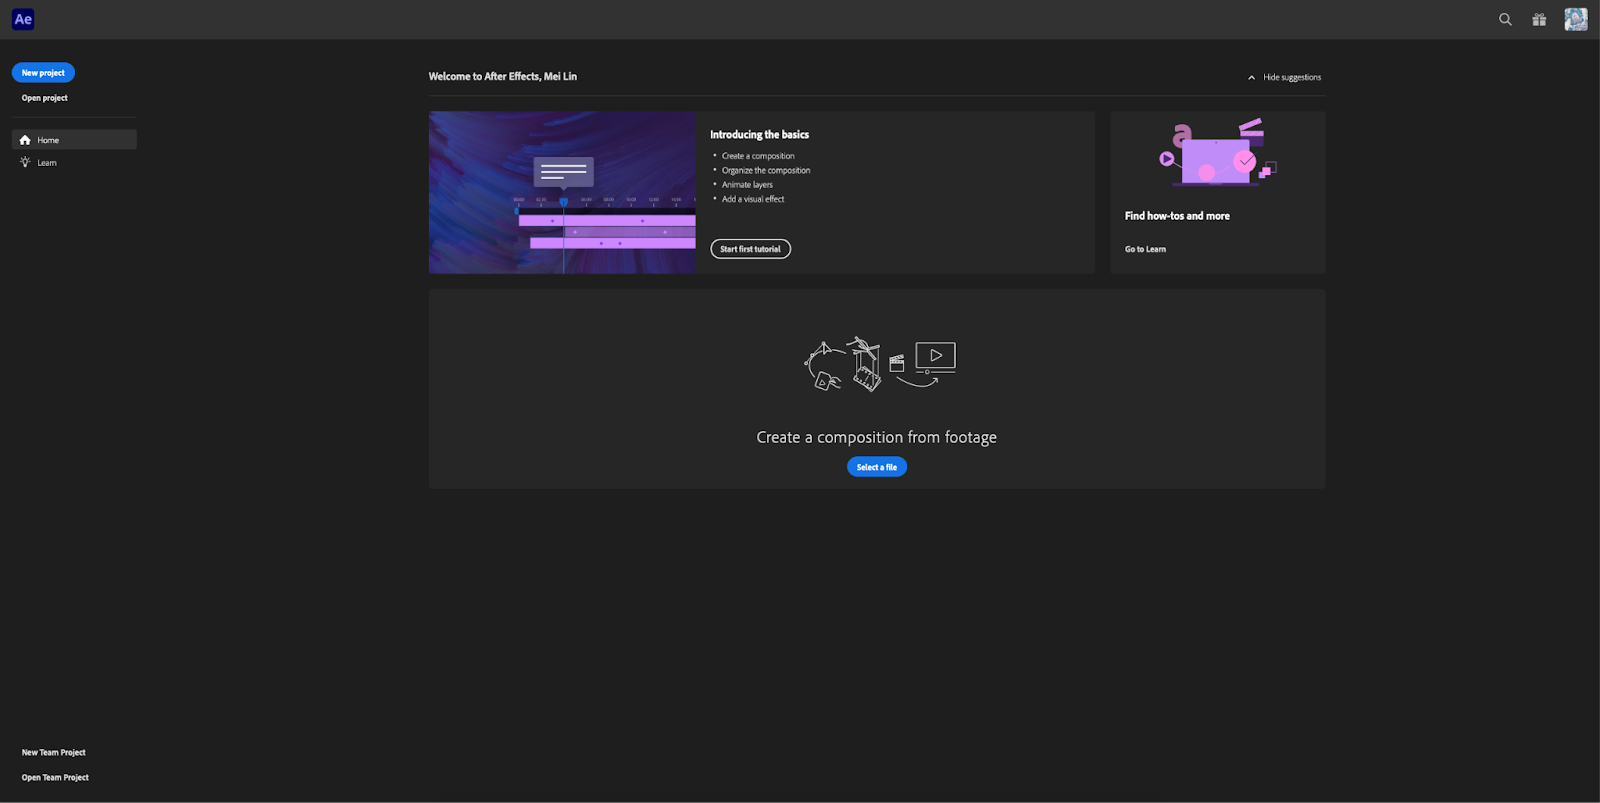
Open After Effects and you will come to this screen:
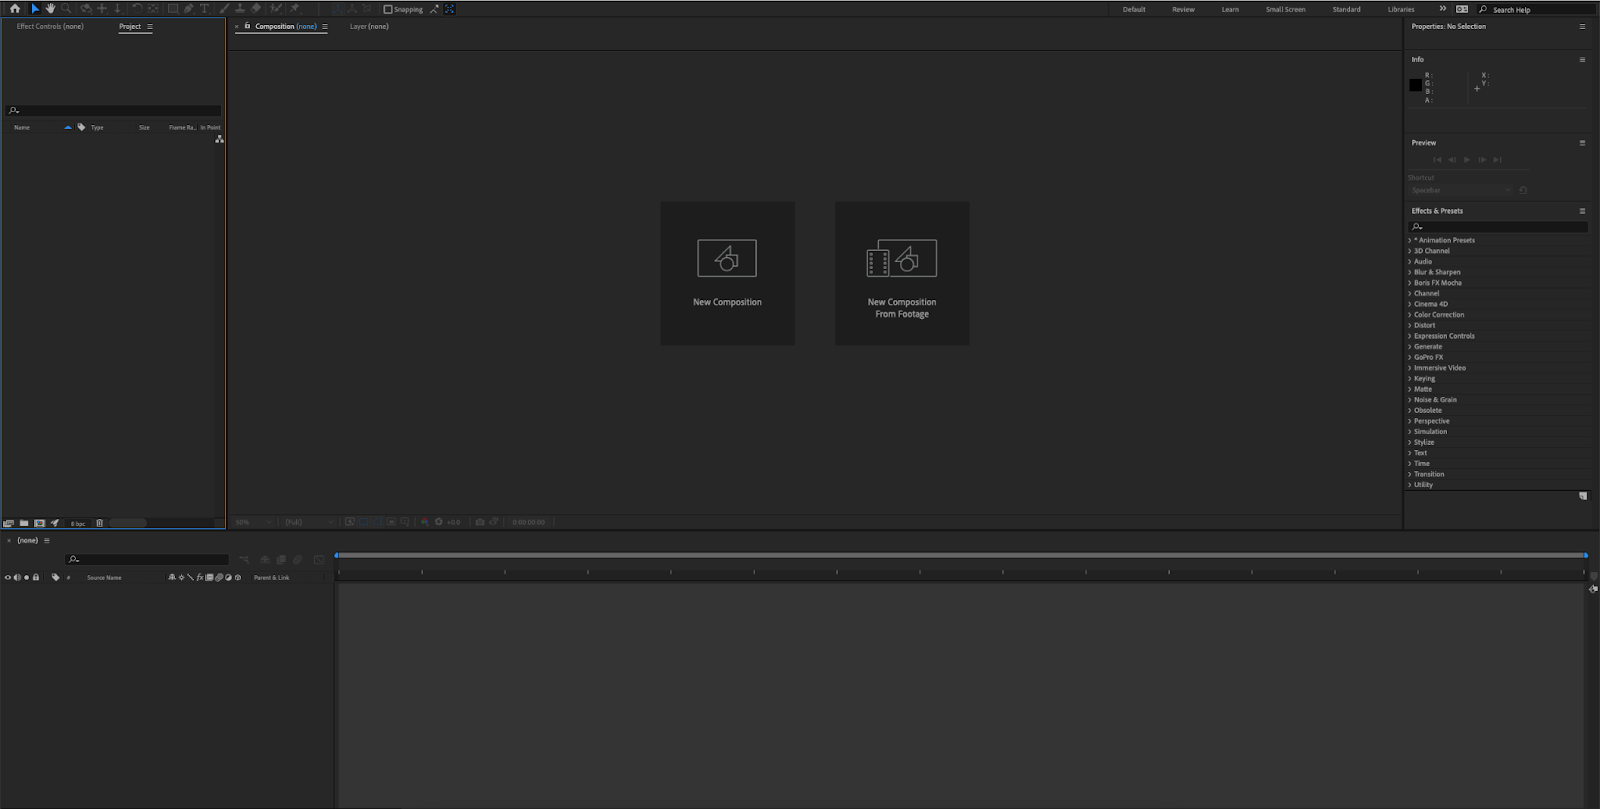
Click on <New Project> and then <New Composition>. Generally, you want your dimensions to be 1920 x 1080 for HD and 3840 x 2160 for 4K. But if your project needs different dimensions, you can modify it here. This will open your workspace where you will begin your editing project.
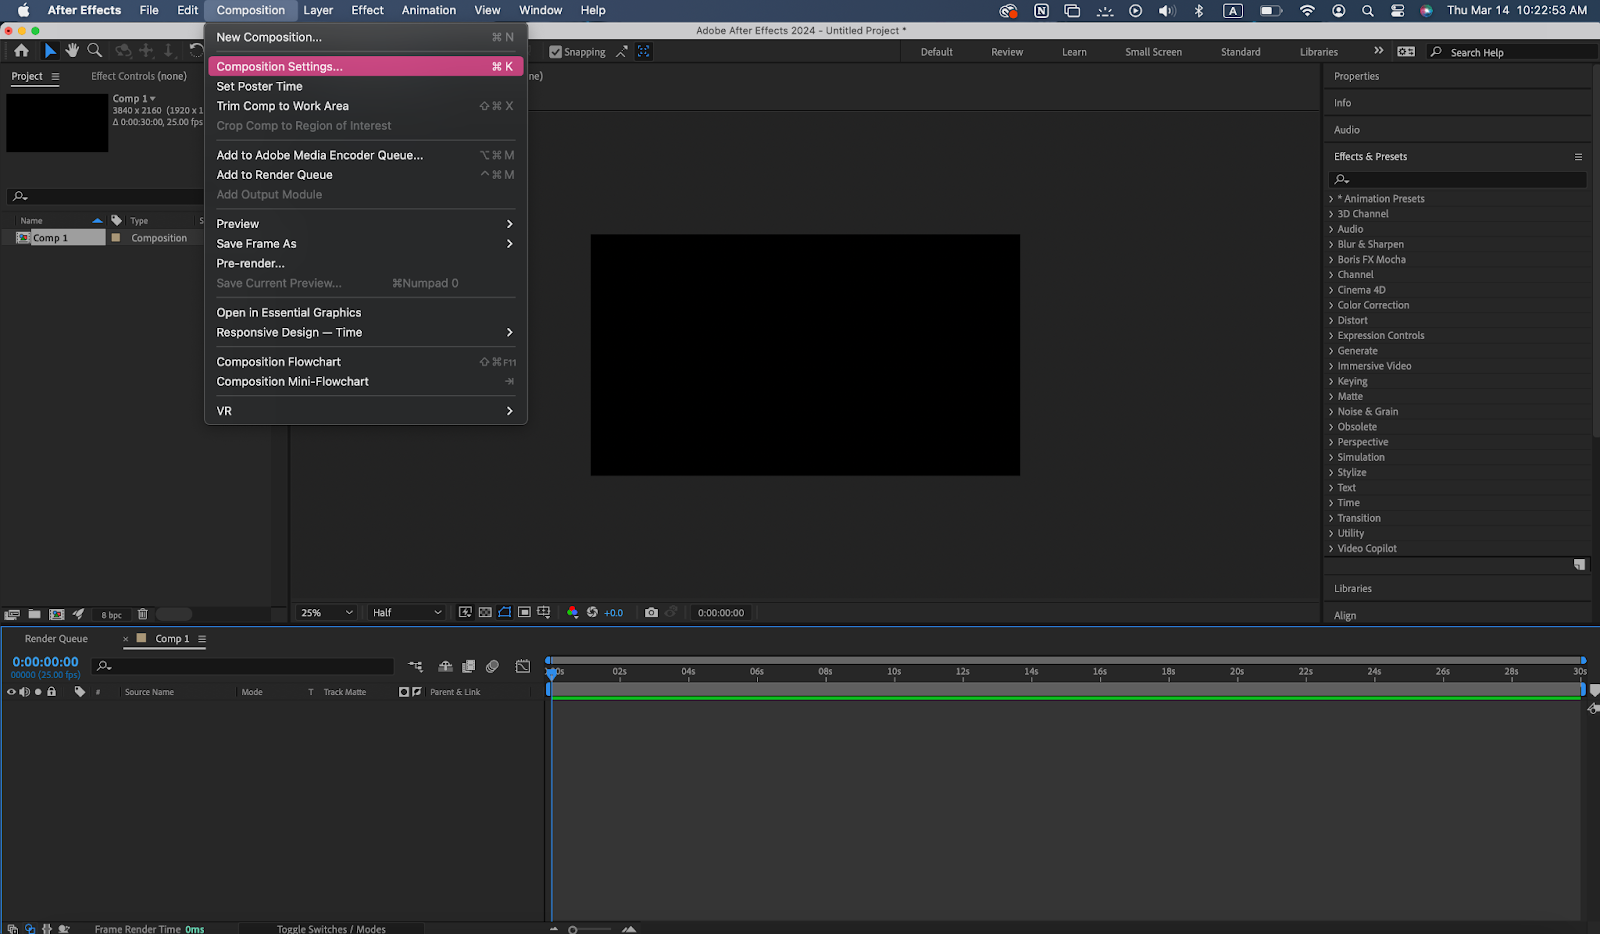
When you are in the workspace, you can edit dimensions through: Composition → Composition settings
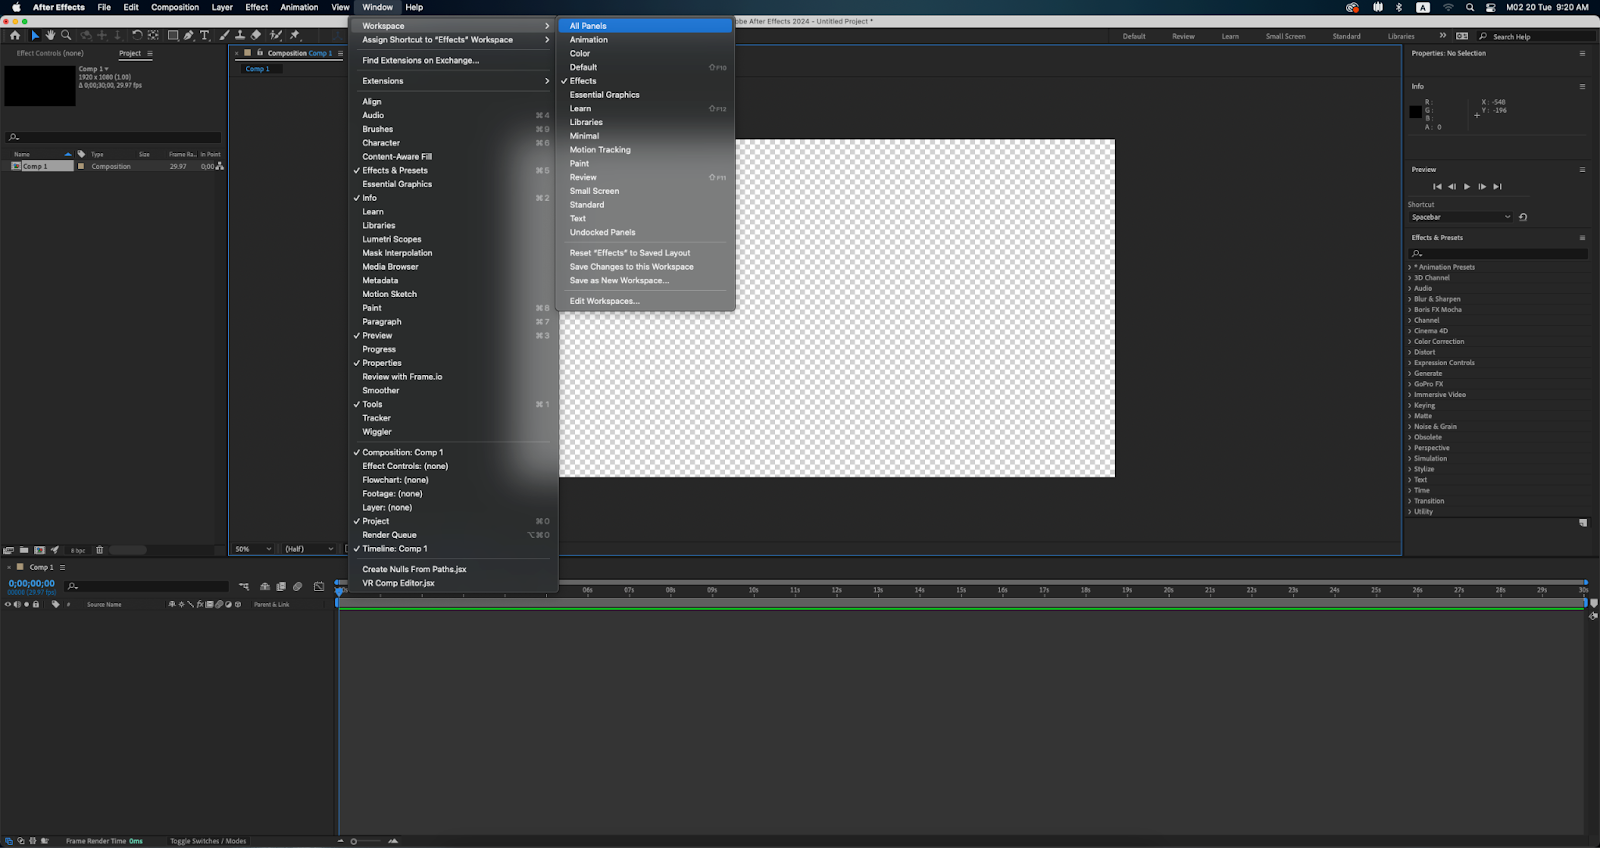
After Effects will then generate a blank canvas for you to start editing. Like other Adobe apps, you can customize your workspace, personally, I like to have all my panels visible. This way I can access everything I might need for editing, however, if you want a more minimalist layout, I recommend at least having effects, tracker, and main controls visible in your workspace. So to do this you go: Window → workspace→ all panels
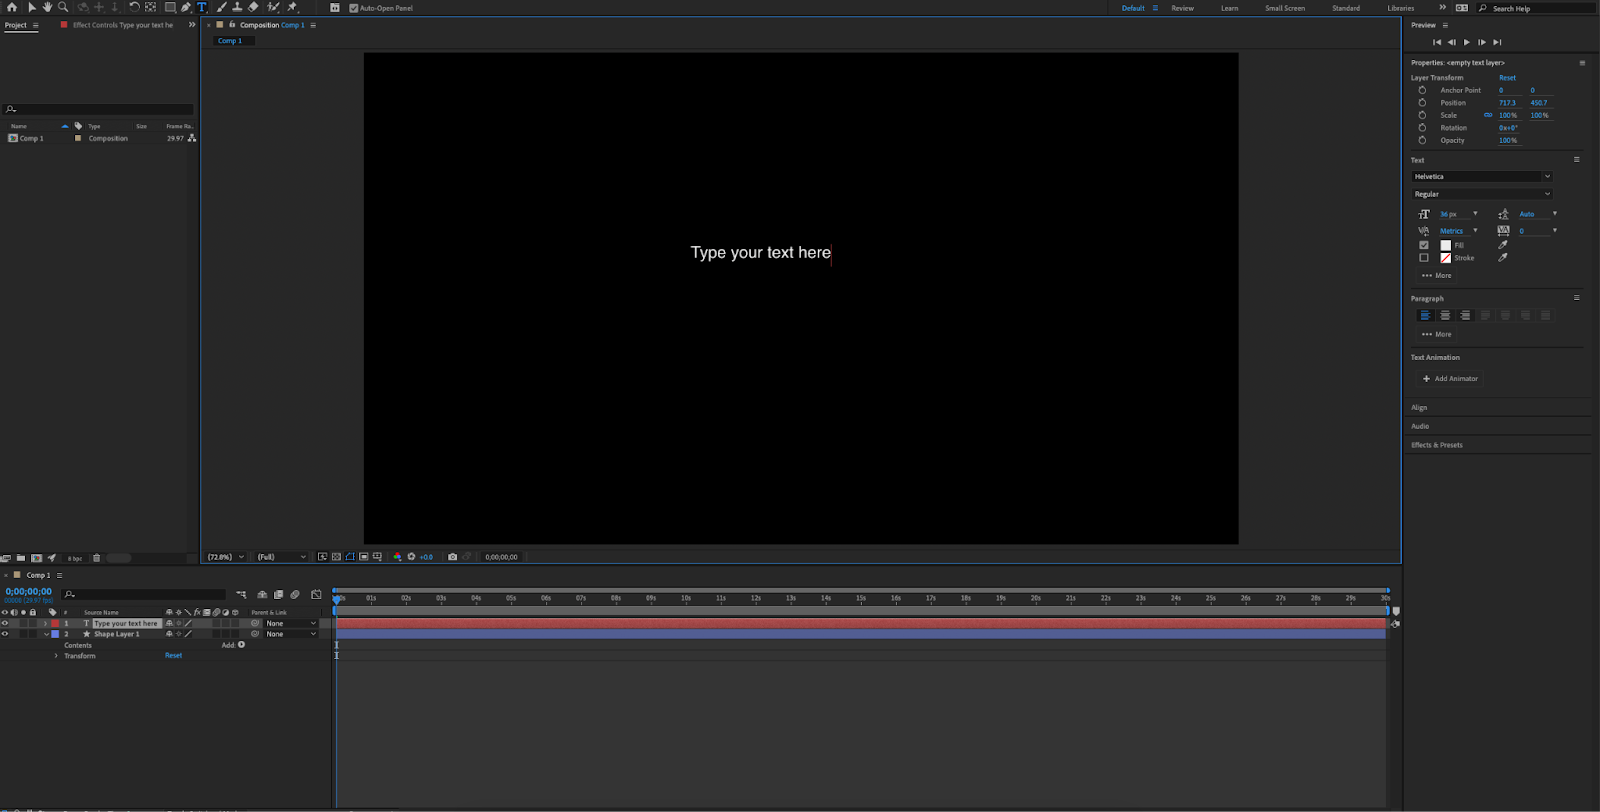
At the top of your window, there is the main toolbar. Here, you can toggle through different tools to mask, write text and draw shapes on your canvas. The most important tools are the shape tool, mask tool and text, these are all next to each other as well.
What the tools are starting from the left side of the toolbar and going to the right side:
Home: To leave your editing page and return to the start page you see when you first open After Effects
Select/Arrow: To select elements in your composition
Hand/Grabber: To drag elements around on composition
Zoom: If you need to zoom into an element on your composition, you can use this tool
(Skipping the next three, it is unlikely you will need them, they are for more advanced effects)
Rotation: Click and drag your object/element to rotate it around the center axis
Shape tool: Create shapes for your composition
Mask: Outline an area of your composition that you want to mask
Text: Use this when you would like to insert text to your composition
Paint: Use this if you would like to draw on your composition
Clone: clone an existing part of an image in your composition
Erase what you have drawn
Roto brush: to remove background on a subject
Puppet Pin: Manipulate a certain point of your composition by placing a puppet pin and dragging it to where you would like
On the sidebar, you have your effects and other control libraries. To expand a tab, simply click on it.
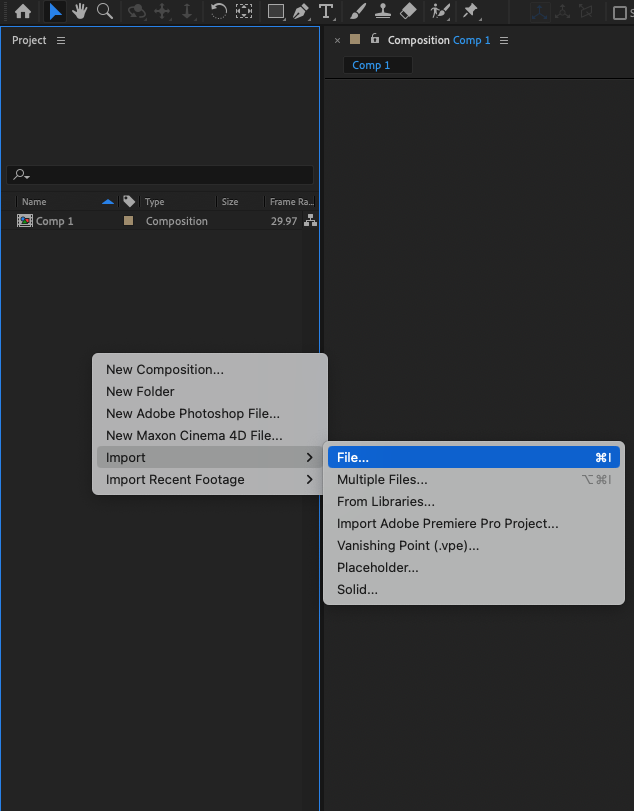
To import clips into your project, either drag and drop into the left panel, or right click the composition tab and click on import.
When you add an element to your workspace by clicking on it in your project library (where it will be after you import it) and dragging it to the bottom of your screen to your timeline. To make sure that you have successfully moved your clip into the timeline, it will appear as a colored line like pictured.
To shorten your overall timeline, move the very top semi-transparent bar to the left, known as the time ruler.
To shorten a layer, do the same thing, but drag the layer bar instead.
Navigate to the toolbar towards the top of your window, to add a shape, click on the rectangle icon. To toggle through the other shapes (rounded corners, ellipses, polygon or stars) hover over the icon and click “Q” on your keyboard.
Then once the shape tool has been selected, click on a point on your composition and drag your mouse to scale the shape to the desired size.
Change the color in the controls panel on the right of the overall window under “fill”, or at the toolbar on top.
Press the “T” icon to add text to your video. Click the point you want to your text to appear and start typing. The controls to change the text (font, size etc) are on the right side of the window, the same place as where you edit a shape.


The land on which we gather is the unceded territory of the Awaswas-speaking Uypi Tribe. The Amah Mutsun Tribal Band, comprised of the descendants of indigenous people taken to missions Santa Cruz and San Juan Bautista during Spanish colonization of the Central Coast, is today working hard to restore traditional stewardship practices on these lands and heal from historical trauma.
The land acknowledgement used at UC Santa Cruz was developed in partnership with the Amah Mutsun Tribal Band Chairman and the Amah Mutsun Relearning Program at the UCSC Arboretum.


 Santa Cruz, CA