
By: Mei Lin Lee-Stahr | Last Updated: Fall Quarter 2023
My Maps is an interactive map feature made by Google. You can use it to create your own custom maps to embed in projects.

Getting Started:
Once your map is created, it will look like this ↴

Feel free to rename your map by clicking on where it says “Untitled Map.” It will bring up this window:

You have the option change what your map looks like, this called the “Base Map.” Click on “Base Map” to view a dropdown menu of the options.

Look at the toolbar under the search bar to add elements to your map. To see what each icon does, hover your mouse over the icon.

Once you know where you would like to place a pin, type the location into the search bar and press enter.

My Maps will automatically take you to that location on the map:

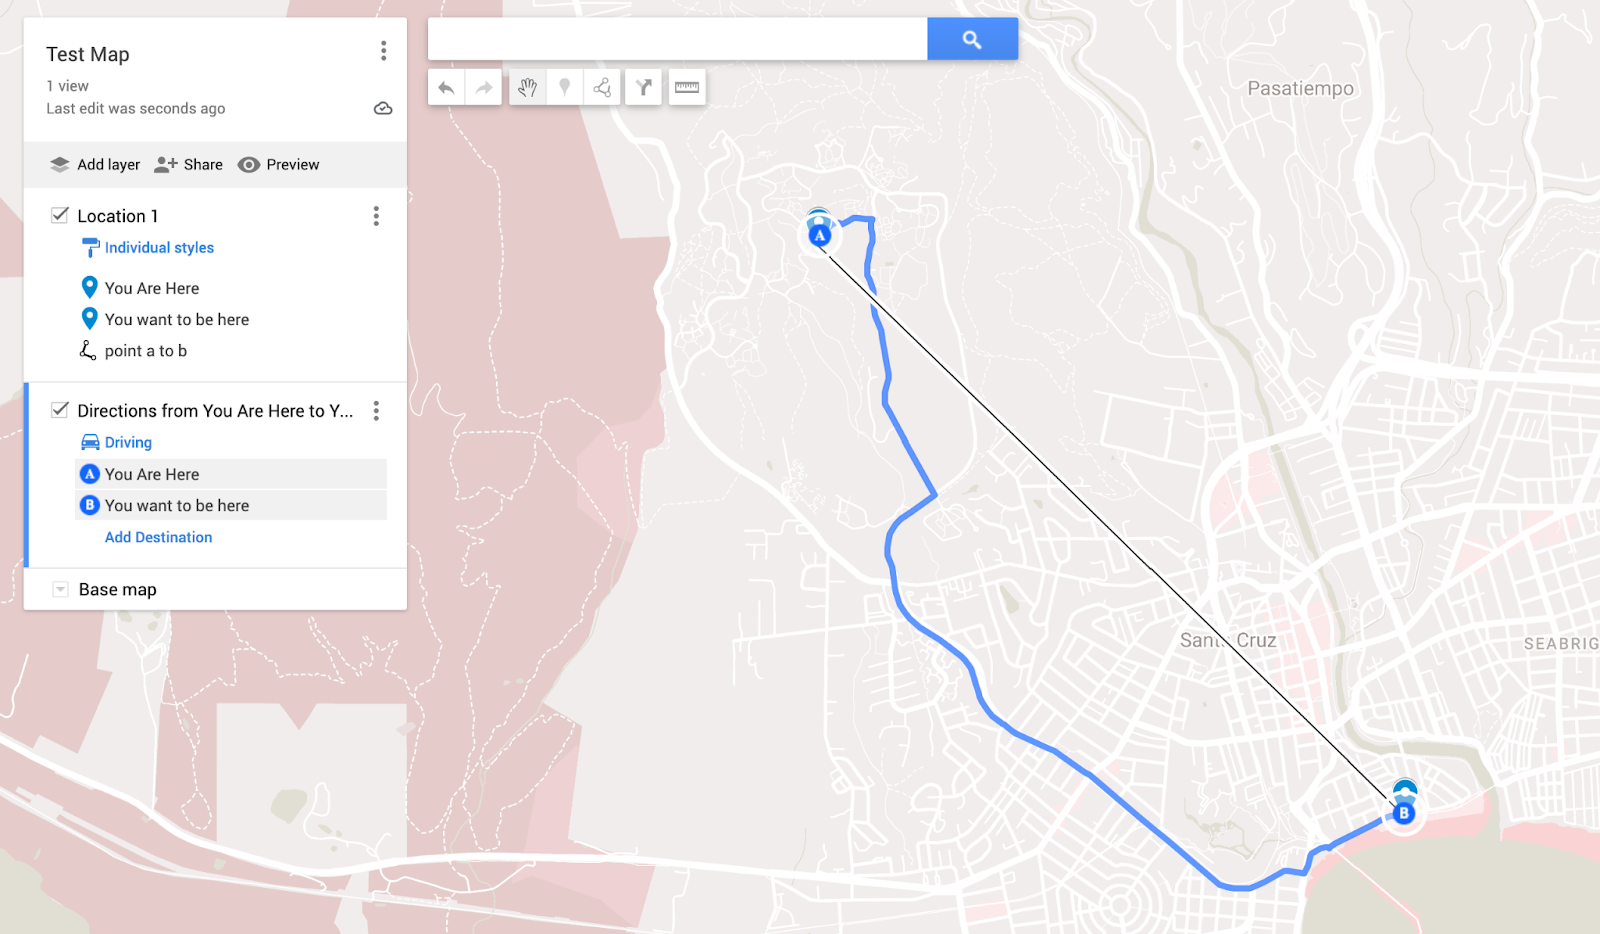
To drop a pin on the location, click on the icon to the right of the hand and click the point that you want to add a pin for. Title this pin whatever you want.

Repeat step 6-7 to drop another pin. Do this for as many points as you like.

You have a few options from here:

You can also add directions using the next icon to the right. This streamlines the “Add driving route” to the best route, similar to Google Maps.
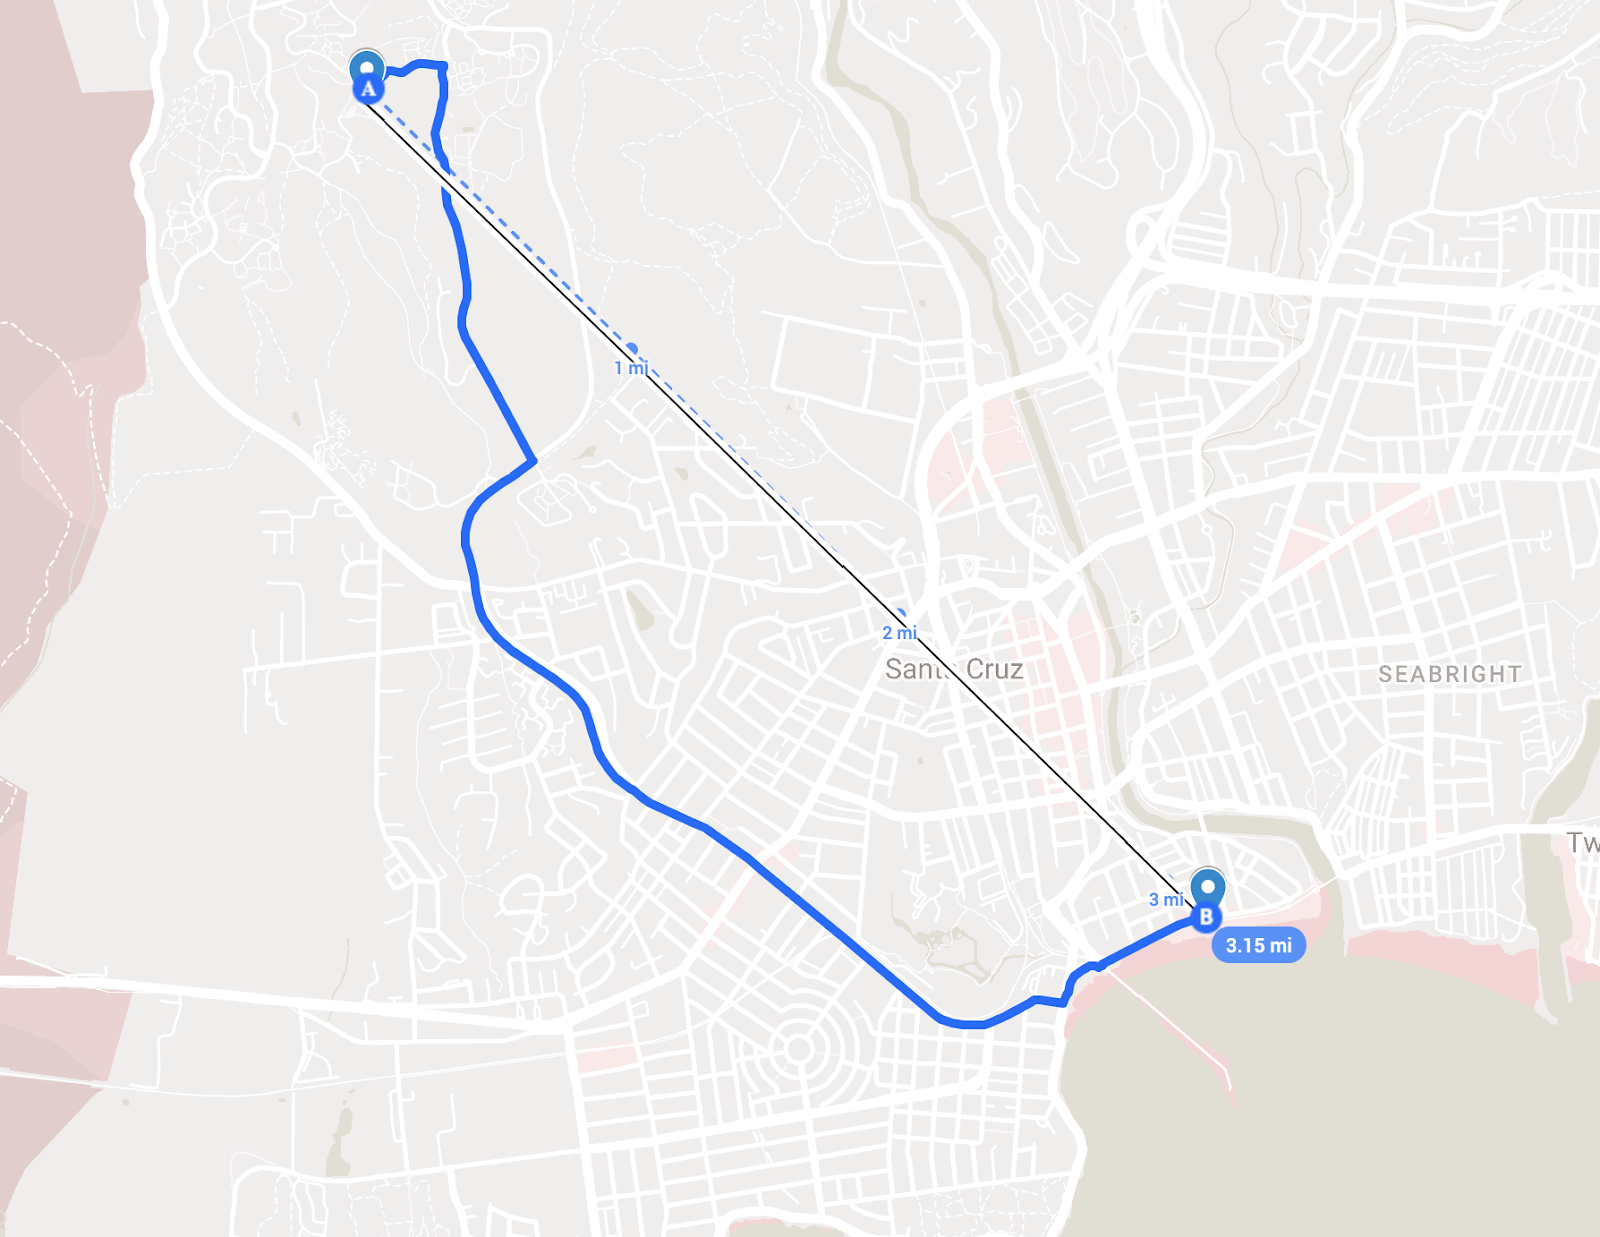
You can measure the distance between the two points:
Or you can simply leave the points as is.
NOTE: You can put more than two points on a map, and connect all of them, just follow the above steps to add more points.
First, make sure your file is one of these readable types:
Once your file is in the correct format, you may begin to import them. If you already have layers added to your map, click on “Add layer.” If you are starting from scratch, then you may skip this step.

Once you have an empty layer, click on “Import”

Once you import your data set, it should appear on your map

With these data points you can add directions, lines and measure the distance between the same way as you can if you added the points manually.


The land on which we gather is the unceded territory of the Awaswas-speaking Uypi Tribe. The Amah Mutsun Tribal Band, comprised of the descendants of indigenous people taken to missions Santa Cruz and San Juan Bautista during Spanish colonization of the Central Coast, is today working hard to restore traditional stewardship practices on these lands and heal from historical trauma.
The land acknowledgement used at UC Santa Cruz was developed in partnership with the Amah Mutsun Tribal Band Chairman and the Amah Mutsun Relearning Program at the UCSC Arboretum.

 Santa Cruz, CA