Thomas Sawano, Daniel Story | Spring, 2020
In this tutorial, we’ll take our online maps one step further by moving them into StoryMaps, a web app related to ArcGIS Online that allows you to embed your maps (and other sorts of media) in a scrollable narrative format. And of all the tools we’ve used, StoryMaps is easily the most user friendly. The harder part is the interpretative decisions about how to order your maps and how to write about them gives readers the proper context to understand them.
Contents
Go to storymaps.arcgis.com. Consult our instructions for logging in with your UCSC credentials . Once you're logged in, you should see a dashboard similar to this:
If your dashboard looks substantially different, you may be logged into the ArcGIS Online app. ArcGIS and StoryMaps are linked tools—both from the company ESRI. An account for one works in the other as well. If you find yourself in ArcGIS Online (a telltale sign is that there is a top menu that says "Home," "Gallery," "Map," etc.), you can click the grid icon near the far right and selected StoryMaps or simply navigate directly to storymaps.arcgis.com.
Once you're there, click “Start a story.” Here, you’ll be directed to a new, untitled StoryMaps project. This will all take a moment to load.
Give your project a name where it says “Title your story.” In contrast to ArcGIS Online, StoryMaps have an autosave feature, so no need to worry about that.
Take a moment to familiarize yourself with the layout of the page. Below is a labeled diagram of some of the features you can adjust on the title slide.
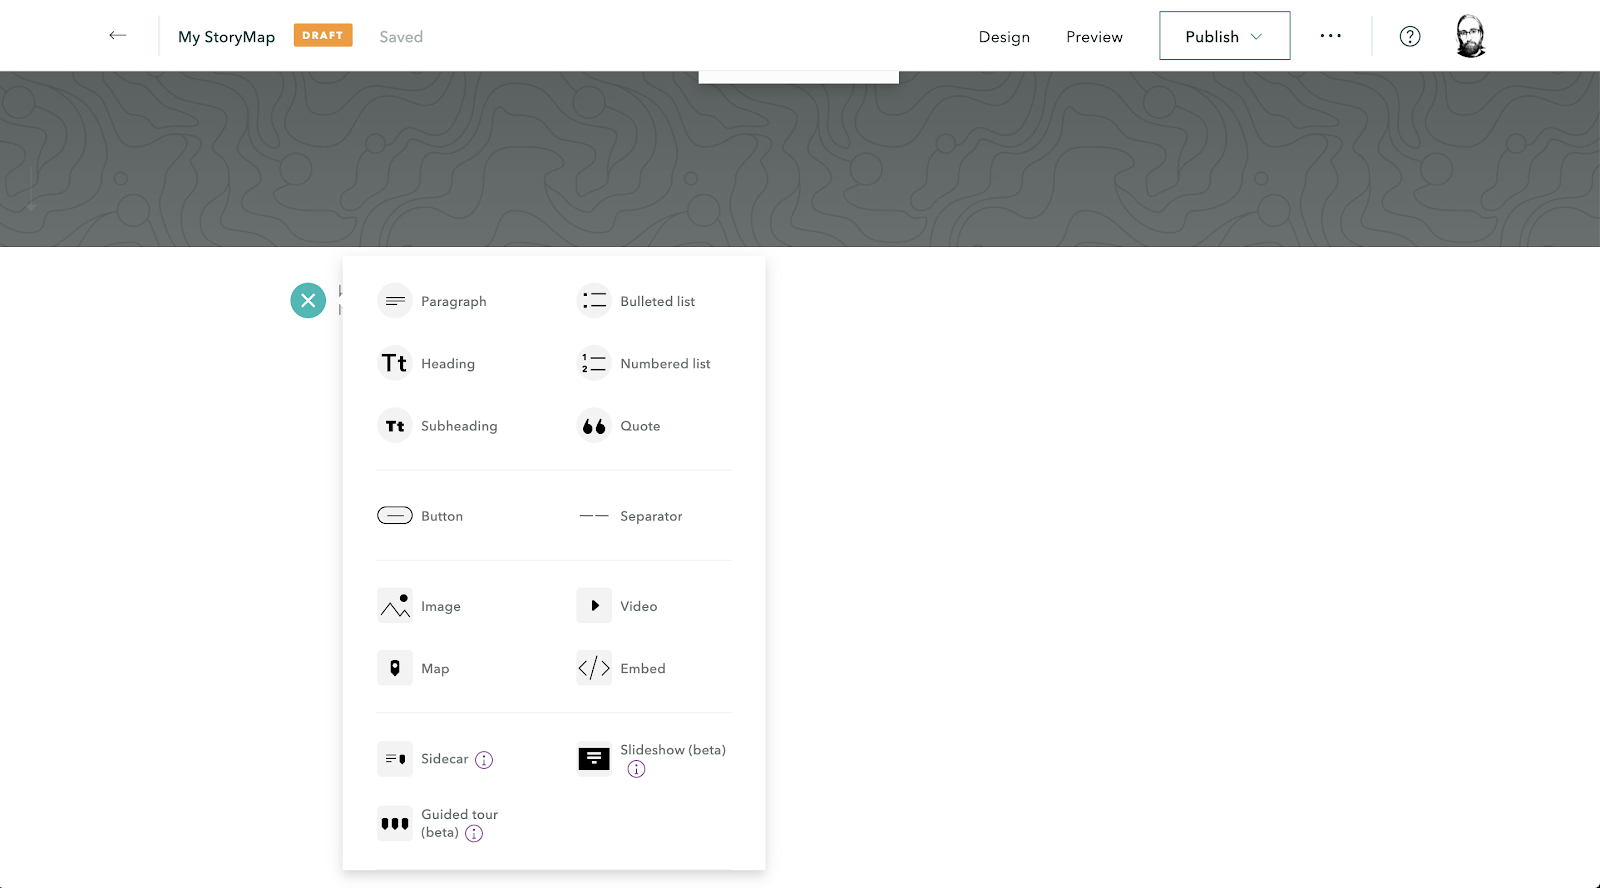
Scroll down the page and click the green “+” sign just below your title area (in all future steps you’ll need to hover near the top or bottom of an element in the Story and the plus sign will appear to allow you to add new content). This will open a dropdown menu that will allow you to specify what type of content you’d like to add next. You’ll have the option of a few forms of text, hyperlink buttons, line breaks, images, videos, and maps. There are also three options—sidecar, slideshow, and guided tour—that allow you to incorporate multiple elements into one feature.
You should spend some time experimenting with some of these elements—most are very straightforward to add and customize. In particular, try inserting a Heading and then some Paragraph text. You should begin to see how StoryMaps makes it possible to blend writing with media elements.
Now let’s take a closer look at the two main methods of adding maps to your Story, starting with adding a map you’ve already created in ArcGIS Online.
From the “+” dropdown menu, click “Map.” This should bring you to a page containing all the mapping content associated with your ArcGIS Online account. Select the map one of the maps from the previous weeks’ tutorials, for instance Americas Abolition.
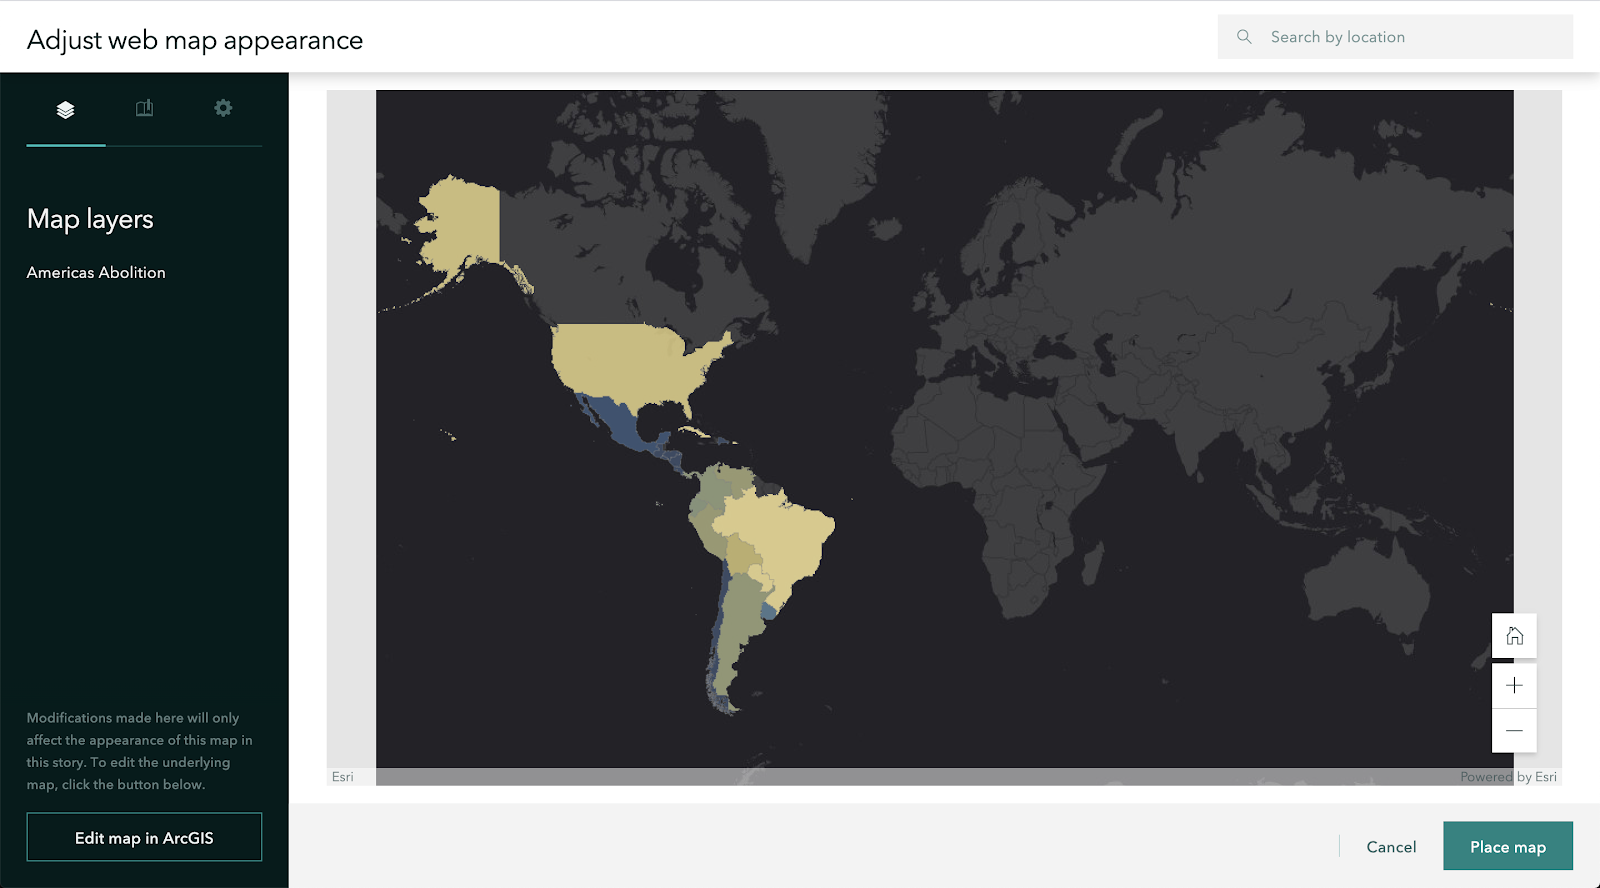
After you select a map, you’ll be able to adjust your map’s appearance. Adjust the default scope of your map by zooming in or out and centering the map where you want the focus to be. If the map has multiple layers, you can select which ones you want to display. You can also toggle a few other options via the gear icon at the top of the left-hand column, like including a location search bar or zooming to your readers’ current location. Finally, there is a link at the bottom left that will take you directly to the ArcGIS Online interface in the case that you want to make some additional edits to the map.
Once you’re satisfied with the appearance of your map, click, “Place map.” Your map should appear in your Story.
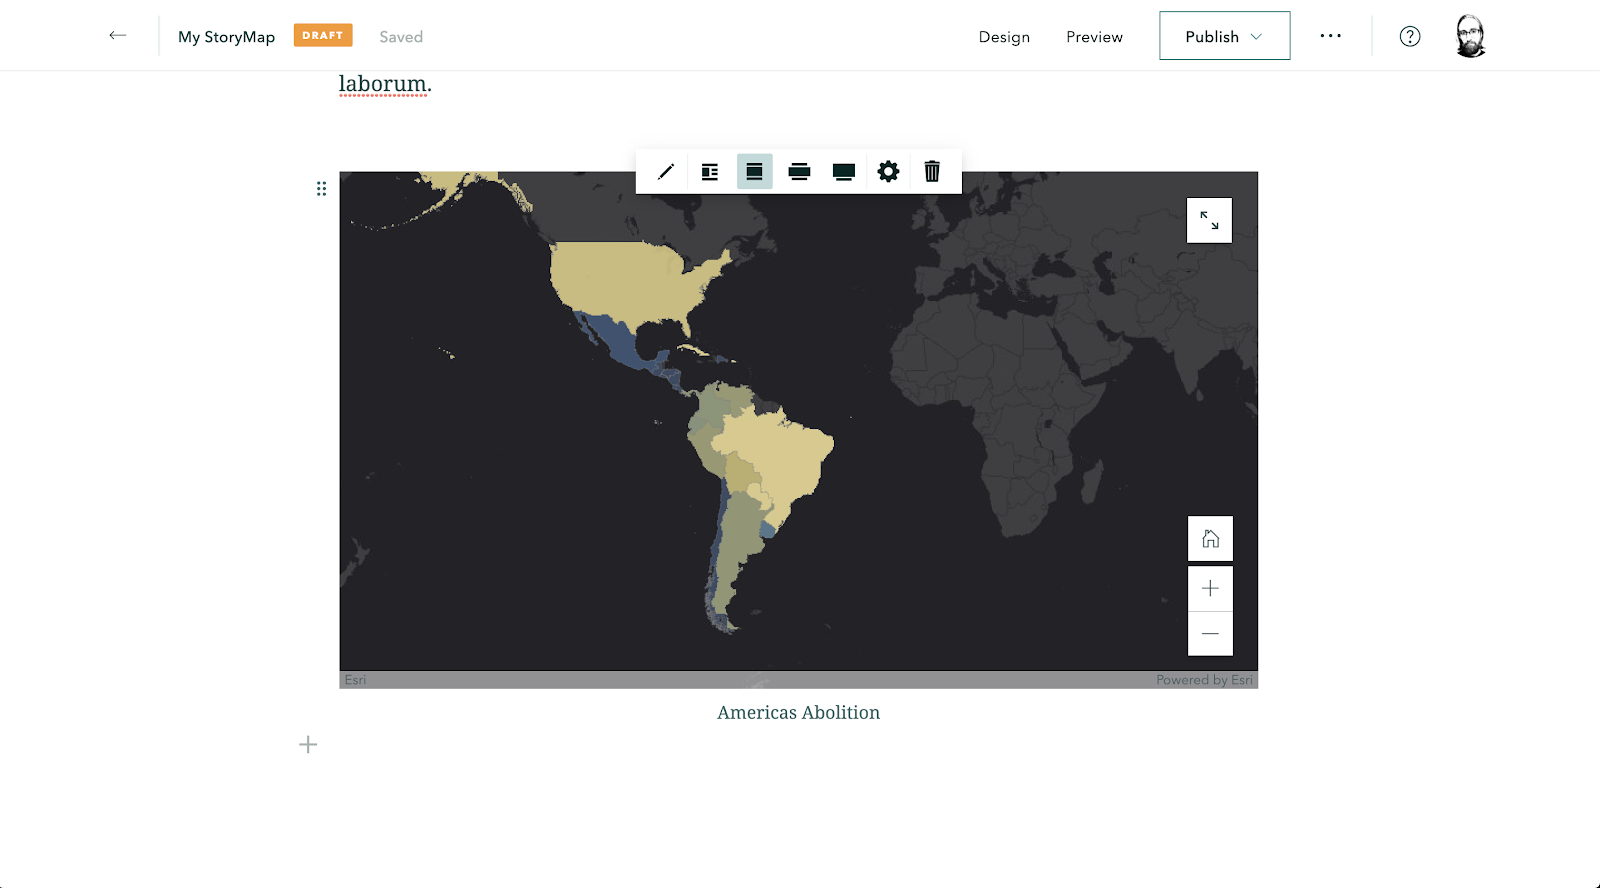
Once your map is placed, adjust its size and placement on the screen by hovering near the top of the map. You can also edit the title/caption just below the map.
Now let’s quickly explore one more method of adding maps to a Story: the Express Map.
From the “+” dropdown menu, click “Map” again, then select “Create an express map.”
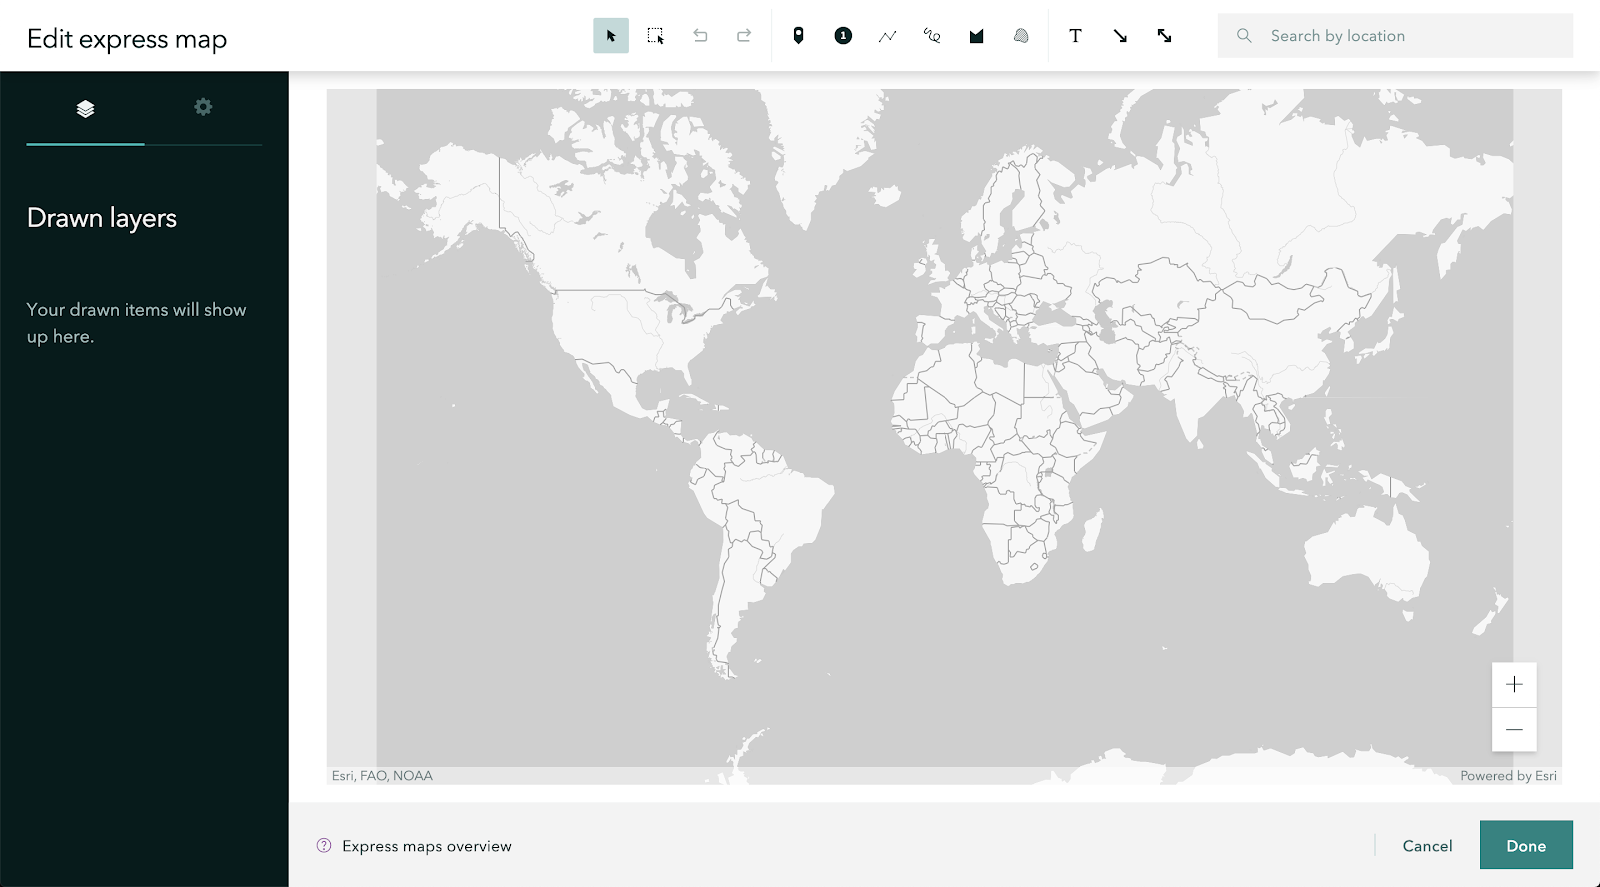
You should now see a blank map with a few tool icons across the top of the screen. Experiment with these tools by adding a few unnumbered points, a few numbered points, and a few lines. Note that when you add a feature, options appear in the left hand menu that allow you to add a title and description for the feature as well as an image.
Now select the gear icon near the top left of the screen and adjust some of these settings, including setting a new basemap if you wish.
When you’re finished, click Done. Your map will appear in your Story.
As should be apparent, adding maps and other media content to a Story is pretty straightforward. As already stated, the hardest work with StoryMaps is making decisions about how to tell your story, including how to order things and what text is needed to provide context and interpretation to the maps and other media you present.
When you're ready to share your Story, click "Publish" at the top right of the screen and select the group you want to share it with. "My organization" will share the Story with everyone who has a UCSC ArcGIS Online account. This option would be sufficient for sharing the map with your course instructor. To share the map with anyone beyond UCSC, select "Everyone (Public)."

Now click "Publish story." After a few moments, you'll see the published version of your Story. At the top of the screen there are options for sharing it with others via Facebook, Twitter, or by copying the URL. If you're still logged into your ArcGIS Online account, you'll also see the option to "Edit Story," which will take you back to the Story builder screen.
Note that once your Story is published, you can always go back to the the share setting and make changes, including going back to "Private."


The land on which we gather is the unceded territory of the Awaswas-speaking Uypi Tribe. The Amah Mutsun Tribal Band, comprised of the descendants of indigenous people taken to missions Santa Cruz and San Juan Bautista during Spanish colonization of the Central Coast, is today working hard to restore traditional stewardship practices on these lands and heal from historical trauma.
The land acknowledgement used at UC Santa Cruz was developed in partnership with the Amah Mutsun Tribal Band Chairman and the Amah Mutsun Relearning Program at the UCSC Arboretum.


 Santa Cruz, CA