What is a Digital Exhibit?
A digital exhibit allows you to pull together items from your Omeka site into a single exhibit space. You can then contextualize this assemblage of items by providing narrative text that tells a story or makes an argument.
 |
Add a New Exhibit:
|
|
|
The Description/Summary Page: You have two choices for the first page in your exhibit:
|
Adding pages:
| List of Pages in Admin view | Left Menu Showing Pages in Public view |
|---|---|
 |
 |
Tip: You can re-arrange your pages or designate sub-pages by dragging and dropping the pages in Admin view
An exhibit page will have one or more "Content Blocks." You can combine different types of content blocks to give your pages more variety.
Content block options:
| Content Blocks on a Page in Admin view | Same Page in Public view |
|---|---|
 |
 |
This example combines a Text style content block above a Gallery style content block.
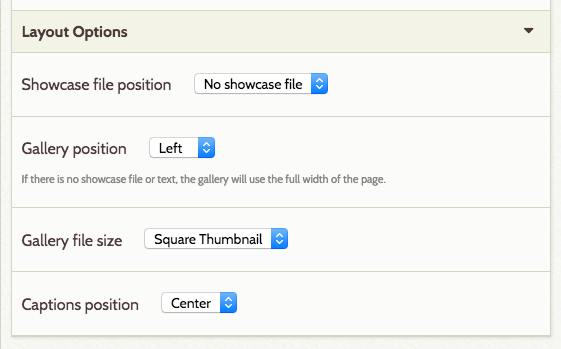
Select "Layout Options" for additional styling and layout possibilities
 |
|
 |
|
| Item with Caption in Admin view | Item with Caption in Public view |
|---|---|
 |
 |
 |
|
Add hyperlinks to your text
 |
|

Email us: digitalcommons@ucsc.edu
In Person: Visit us during Open Office Hours or you can Book a Consultation


The land on which we gather is the unceded territory of the Awaswas-speaking Uypi Tribe. The Amah Mutsun Tribal Band, comprised of the descendants of indigenous people taken to missions Santa Cruz and San Juan Bautista during Spanish colonization of the Central Coast, is today working hard to restore traditional stewardship practices on these lands and heal from historical trauma.
The land acknowledgement used at UC Santa Cruz was developed in partnership with the Amah Mutsun Tribal Band Chairman and the Amah Mutsun Relearning Program at the UCSC Arboretum.

 Santa Cruz, CA